July 1st - just thrown some fettled primed/painted bits together loosely for a photo - -hey, - its getting to look like a Lambretta!
Note forks, all fettled reassembled/painted etc.
Friday, 1 July 2011
Tuesday, 21 June 2011
June 2011 ongoing things
Just a few pics of things as Ive got round to doing them. Still movin' on!
Front forks stripped ready for priming/painting. Springs/links etc removed using home made fork spring compressor.
Fork springs/links etc cleaned up and reusable. Upper rubber buffers are still in good condition, lower ones knackered but only available as a set of four.
Air filter box 98% stripped
The front wheel has come up well, - the inner drum seal had gone and grease from the speedo housing side had covered the brake shoes and everything else, - being years old it was now a brown tar like stuff, - shifted it eventually with white spirit, - good clean & polish, new brake shoes, wheel bearings, seal - good as new!
Tuesday, 17 May 2011
Frame
into May now, - been experimenting with paint finishes. Sprayed a few bits white but will need a rub down and a further coat (white).
Frame hasnt come out too bad after fettling up, welding the support strut and priming and spraying.
The shiny white frame
Monday, 4 April 2011
- start of April now so been a while since last entry, - things still moving along though. started doing a bit of bodywork fettling during the cold weather, still to sort the electrics on the engine, the cylinder/crankcase/piston etc all installed, will have to modify my frame to get the carb on though, - put to one side for a while.
Pic shows scoot with seat, air filter box, rear runner boards and headset removed.
Good few siezed nuts/bolts here and there, some sheared off, others had to be chiselled off or drilled out.
Couple of bits after fettling and priming.
a warmish sunny day at last in early March ... and a couple of hours after getting enthusiastic, - the bare frame is dragged out into the yard and given a good wash to remove the mud, gunge and snails......
All pretty good and solid, some surface rust nothing nasty. the worst bit is the crack right in the middle of the footboard support strut, - should be able to weld that up easily enough, - would only cost a few quid to get a pro to do it. probably need a good few hours to fettle up, paint strip & prime.
Friday, 28 January 2011
Thursday, 27 January 2011
new year
Well its the back end of Jnuary 2011. Not done a great deal but have kept something going.So far since last entry Ive stripped and rebuilt the carburettor - original dellorto.
- pic below shows latest additions - the crank, drive sprocket assembly, mag housing(other side) and a new chain ( old one was slack as .....). Going to have to take clutch housing off again to get chain levelled up, its a bit out at the moment.
The drive sprocket assembly is a peculiar beast, - you have to get the splines lined up so they fit on tightening ( most manuals etc suggest hitting with a hammer to see if it sounds solid, so you know its fit!). I first put it on making sure splines were well out of line and counted number of turns to get tight, - undid and started again with splines positioned correctly (hopefully) and tightened up again, - once a couple of turns past original number you know the splines are together and moving down, - then tighten up.
If the chain was correctly aligned I'd have to take it off again anyway as you cant get the lower chain guide on afterwards!
Other bits - fettled up and painted rear wheel rim, manifold and silencer, and polished up hub.
The cleaned up cylinder and spanking brand new piston (lovely fit - made for each other!) sit on the bench and await their turn to join the engine.
- pic below shows latest additions - the crank, drive sprocket assembly, mag housing(other side) and a new chain ( old one was slack as .....). Going to have to take clutch housing off again to get chain levelled up, its a bit out at the moment.
The drive sprocket assembly is a peculiar beast, - you have to get the splines lined up so they fit on tightening ( most manuals etc suggest hitting with a hammer to see if it sounds solid, so you know its fit!). I first put it on making sure splines were well out of line and counted number of turns to get tight, - undid and started again with splines positioned correctly (hopefully) and tightened up again, - once a couple of turns past original number you know the splines are together and moving down, - then tighten up.
If the chain was correctly aligned I'd have to take it off again anyway as you cant get the lower chain guide on afterwards!
Other bits - fettled up and painted rear wheel rim, manifold and silencer, and polished up hub.
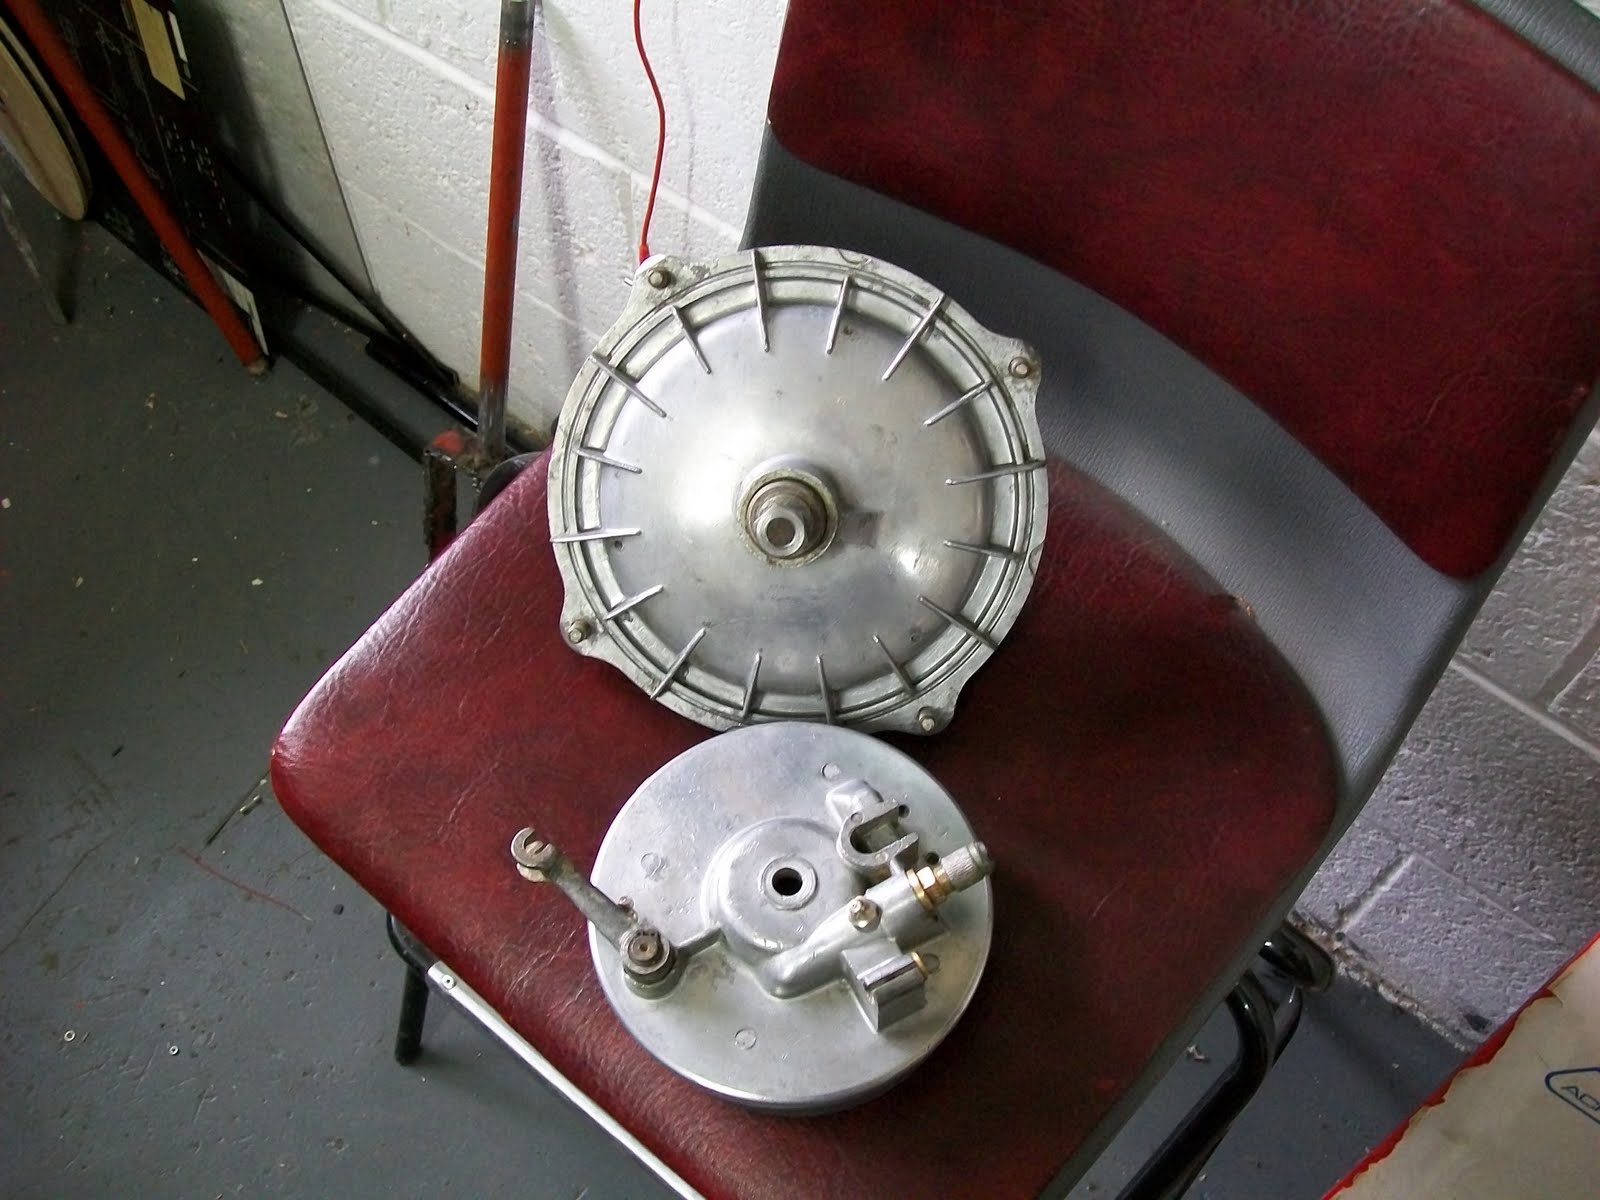
Also fettled up and primed the cylinder cowl and magneto housing cowl - both solid, no rot and have come up lovely!
You can see the cylinder head behind after cleaning out all the muck, tar and gunge from between the fins.
Sunday, 26 December 2010
big freeze
Boxing Day, christmas just gone and no new lambretta engines in the stocking, so will have to persevere -- not much movement recently, - too damn cold. Was hoping to make some major progress over the christmas hols but the big freeze has a put a stop to that.
Knocked up an engine frame out of an old table frame a couple of weeks ago-
- have seen a few frames on the 'net, - I wanted one that would a) fit on my narrow workbench b) fit entire engine when completed c) be able to run the engine in it when complete. d) be easy to make - and the beauty of this one is that it can stand on any of the six sides to allow access to whatever bit you're working on at the time, and at the moment it can be rolled over etc without any of the engine getting knocked.
The other bit of progress from last blog entry is, as you may notice, the gearbox has been rebuilt and clutch housing fitted. New end plate bearing fitted - old one was knackered. New clutch plates are soaking in gear oil at this very moment. I did clean and refit the drive side bearing (missing on pic) but it didnt run too smoothly , - grated with a couple of dead spots, so not happy with it, looks like a new one needed.
Only other bits of 'progress' are soaking the carb and inlet manifold in white spirit to clean off the tarry gunge - come out quite well.. Cylinder barrel still soaking in the stuff.....
Hopefully the carb is reusable, - I did break a bit of the top but managed get a replacement NOS top off ebay. Other bits bought for future use are a couple of oil seals/clutch plates/gasket set/gear oil
Happy New Year
Subscribe to:
Posts (Atom)