Into the final stages of assembly, - electrics all working OK. - ended up making my own wiring loom. Fitted a key/ignition switch, not fitted to the LI model, - originally just a cutout switch.
Out with the legshields for rub down with t-cut and a polish up, - not looking so bad, - had a few dents that Ive now ironed out fairly succesfully.
Fastened to a little frame so the damn things stay upright and dont fall over getting scratches and dents etc, - theyre really awkward buggers to work on when painted.
Wednesday, 30 May 2012
Sunday, 8 April 2012
WAHOO! - its a runner!
Pictured having a rest after its first time out of the garage as a runner since rebuild started
- only 10 times around the yard but thats the first ride on a Lambretta since around 1971 or 2. Engine sounds pretty good, - never got out of first gear but clutch nice and smooth, - all gears selectable, all cables in. Just the lights and remaining panels to sort, plus a few minor items.
Well chuffed!
Wednesday, 14 March 2012
Engine in!
well its march 2012 now, a bit milder this weekend so its off into the garage for a play - fasten up the sidepanel clip at the back, - get the speedo cable threaded through and then decide to get the engine stuck in and take it from there. bit of faffing getting the mounts lined up, - initially put the rear shocker on first and after a lot of sweat, grunting and cursing, took it off and decided to put front mounts on first, - got the engine on some blocks of wood (no rear wheel on yet) and lowered the frame over, - a bit of wiggling and waggling and its on. - on to the rear shocker, a brand new one, - seemed to be too big, couldnt get the engine to drop low enough, tried compressing the springs a bit with mole grips but not enough, - then I found the culprit, - I had used overlong bolts when fastening up the splashplate, - just long enough to stop the silencer going the extra inch to give me enough clearance at the back, - 3 mins with a hacksaw and hey presto, on with the shocker. Good stuff, secure the seat bolts which I'd left loose- sit on it and bounce up and down for a minute or two, - get a couple of photos and call it a day, hopefully back soon.
Thursday, 17 November 2011
back to the bodywork
well. the engines running so back to doing some bodywork and cable routing etc ready for dropping the engine in.
Saturday, 10 September 2011
The engine lives!!
Decided to concentrate on getting the engine sorted - got it all reassembled (mostly) - and to cut a long story short after much faffing and farting about with the old 6v points system, got myself a 12v electronic kit -a bloody good buy! - probably saved myself another year of faffing with the points!
Got everything connected, - follow instructions to set up timing - getting a spark - rig up a rudimentary choke/throttle - fill float chamber with 2-stroke - about 7 or 8 kicks and - pow! up it fires with a throaty roar - give a few hefty rasps on the throttle - fantastic! - time to dance around the yard shrieking and whooping!
The beastie has a rest after a couple of runs for the first time. Note mods to stand to accomodate exhaust system!.
Pretty much all original apart from a few internals 12v system and a piece of fuel pipe.
view from other side
Meanwhile - the rest is gradually coming together .....................
Friday, 1 July 2011
INTO JULY 2011
July 1st - just thrown some fettled primed/painted bits together loosely for a photo - -hey, - its getting to look like a Lambretta!
Note forks, all fettled reassembled/painted etc.
Tuesday, 21 June 2011
June 2011 ongoing things
Just a few pics of things as Ive got round to doing them. Still movin' on!
Front forks stripped ready for priming/painting. Springs/links etc removed using home made fork spring compressor.
Fork springs/links etc cleaned up and reusable. Upper rubber buffers are still in good condition, lower ones knackered but only available as a set of four.
Air filter box 98% stripped
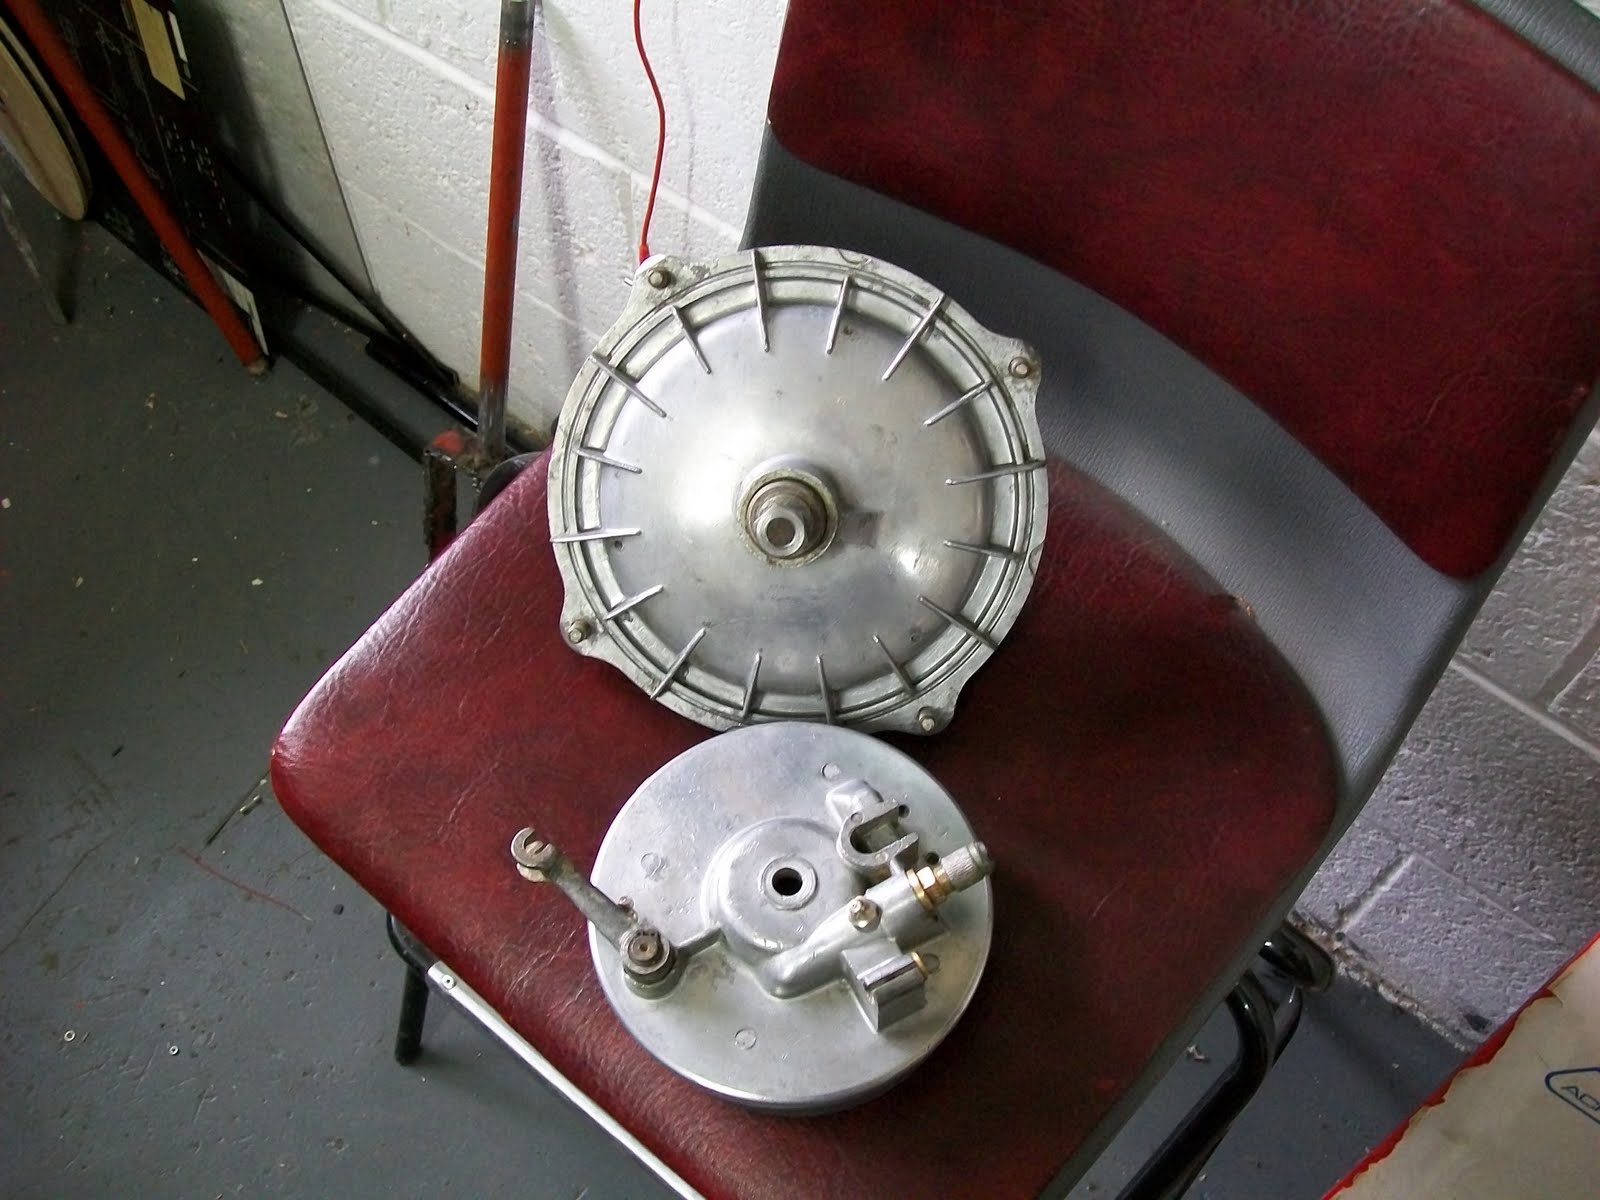
The front wheel has come up well, - the inner drum seal had gone and grease from the speedo housing side had covered the brake shoes and everything else, - being years old it was now a brown tar like stuff, - shifted it eventually with white spirit, - good clean & polish, new brake shoes, wheel bearings, seal - good as new!
Subscribe to:
Posts (Atom)